Quick start
5 minutes from a fresh install to your first published layer.
1. Install the plugin
Follow installation. When it is done, QGIS shows the GeoServer Manager icon in its toolbar.
2. Tell it where your GeoServer is
Open Settings → Options → GeoServer Manager. You can also use the Settings entry of the plugin menu.
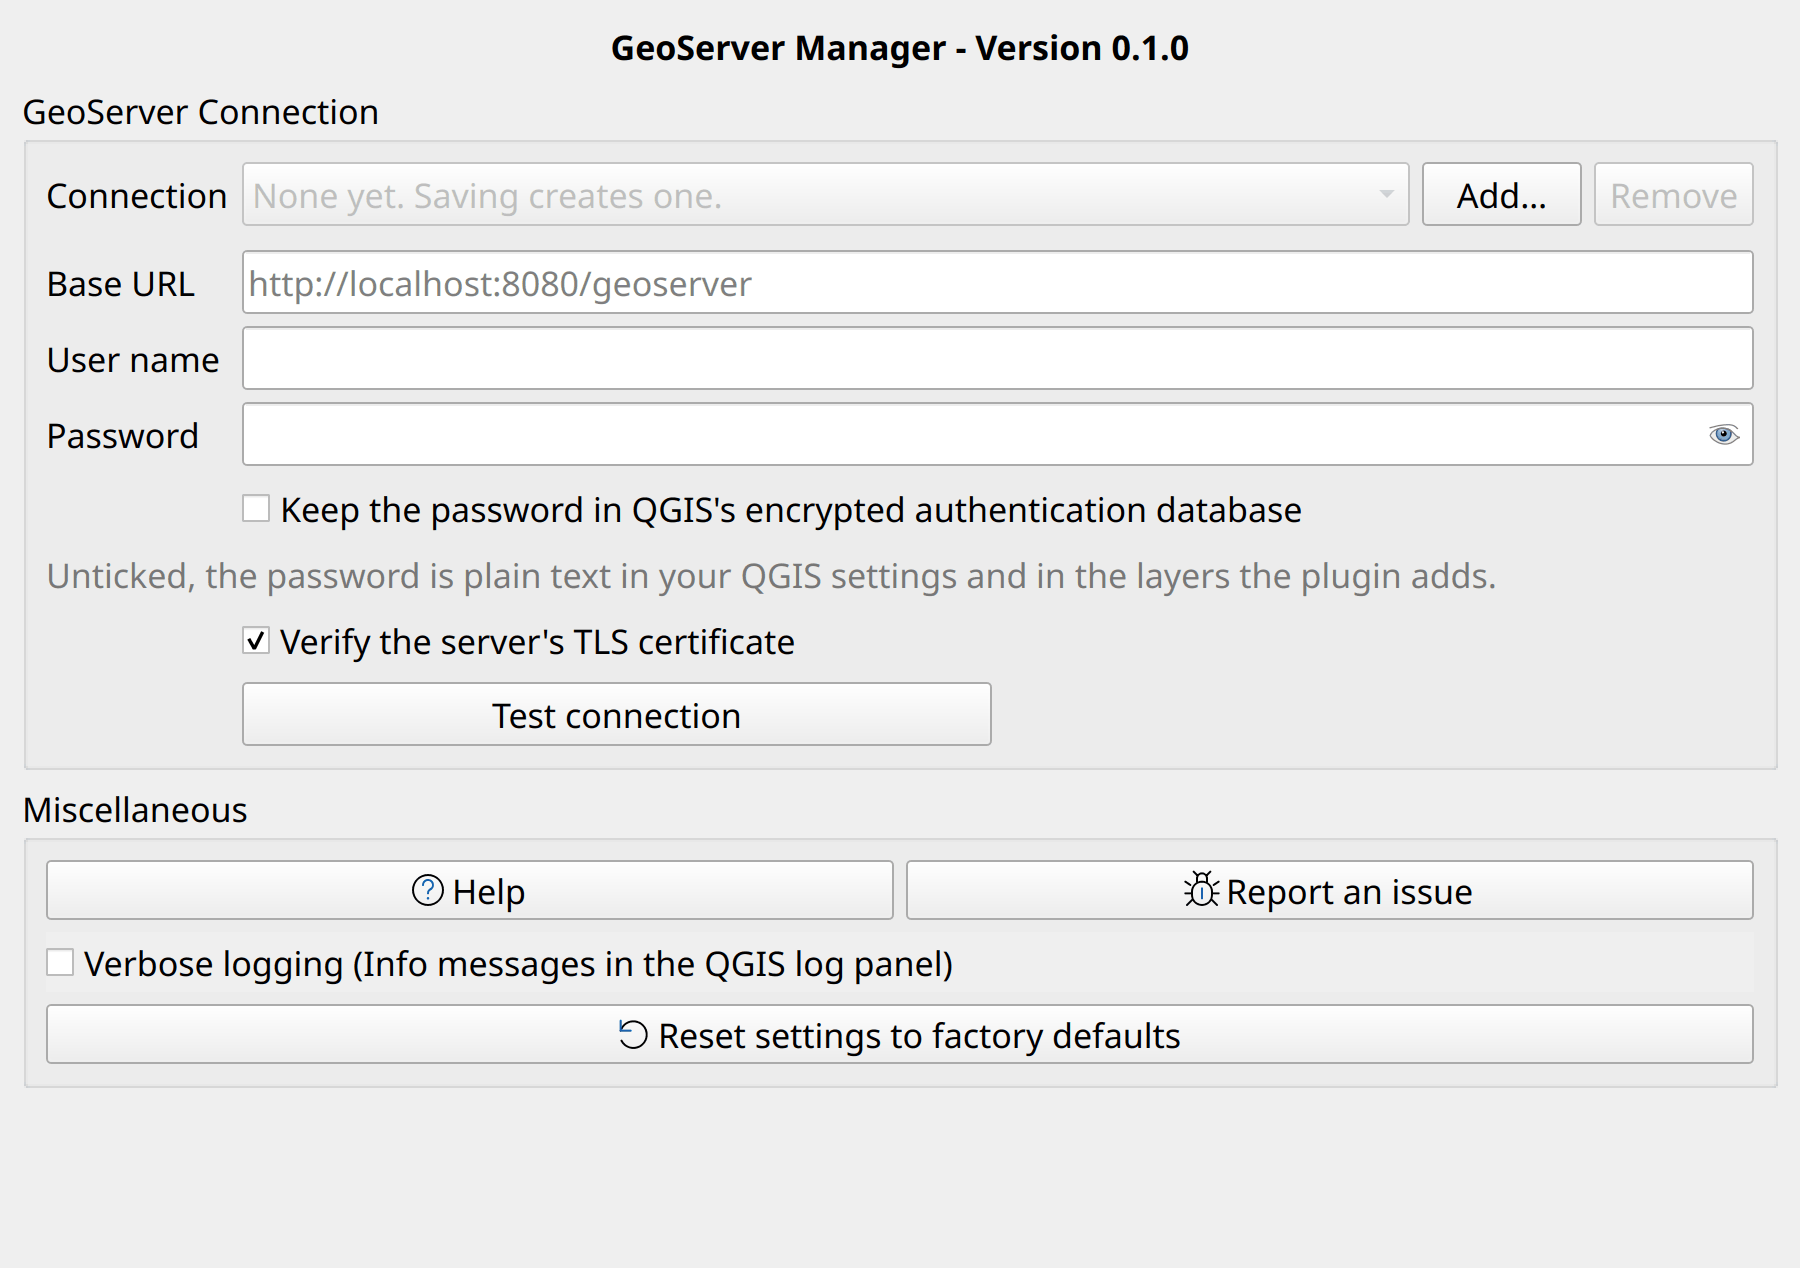
The settings page, inside the QGIS options.
Type the Base URL, for example
https://example.com/geoserver.Type the User name and Password of a GeoServer administrator.
Click Test connection. It checks the fields as typed, without saving.
Click OK to save.
The plugin keeps the password as plain text in your QGIS settings, and in the source of the layers it adds to a project. Tick Keep the password in QGIS’s encrypted authentication database to store it encrypted instead. QGIS then asks for its master password once per session, unless it keeps that password in your system keyring (Settings, Options, Authentication).
Tip
Leave Verify the server’s TLS certificate ticked. For a certificate from a private CA, see a private certificate authority instead of unticking it.
Tip
More than one GeoServer? Click Add… next to Connection, name the new connection, and fill in its fields. Each connection keeps its own user name and password. With 2 connections or more, the dialog shows a list next to its status line to switch between them.
3. Open the dialog
Click the toolbar icon. The plugin connects in the background. The line at the bottom turns green and reads Connected, with the version of the server.
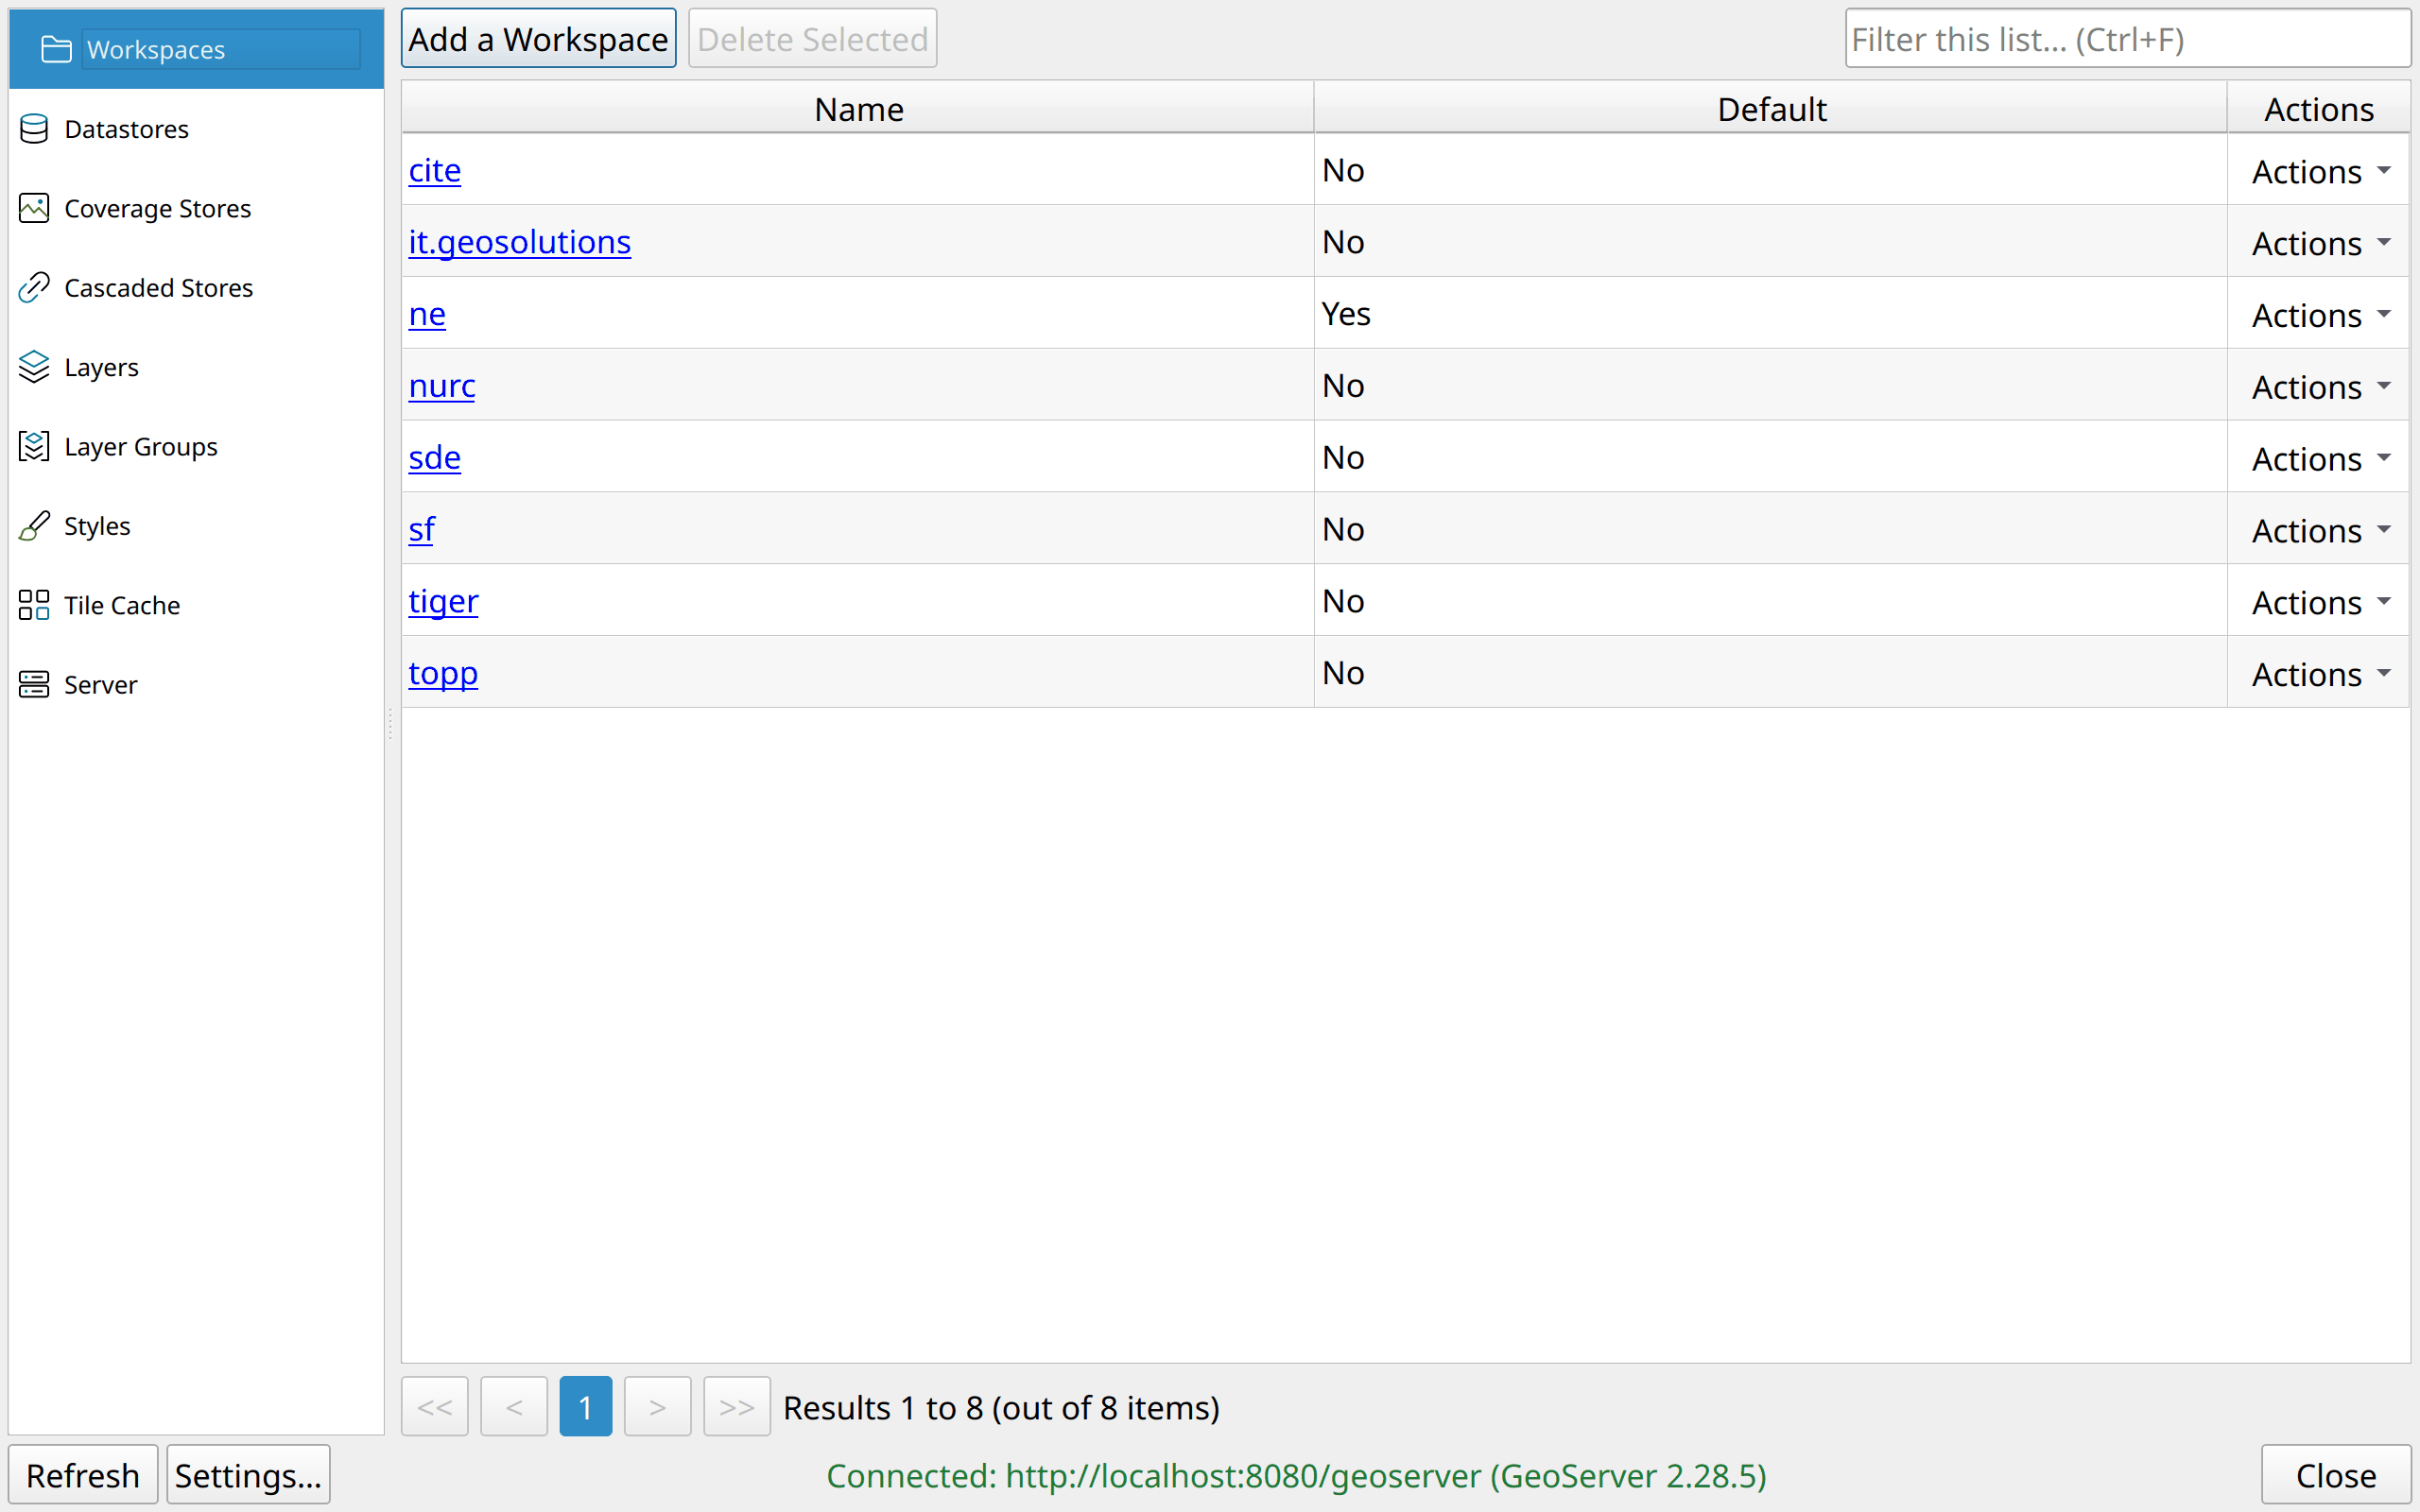
Connected. The list on the left picks what to manage.
If the line says something else, see when the connection fails.
4. Publish a layer from your project
Open a project with a vector layer in it.
In the dialog, click Layers, then Publish a Layer.
Set Source to A layer from this QGIS project, then pick the layer under QGIS layer.
Pick the target Workspace and click Publish.
The plugin uploads the layer as a GeoPackage. GeoServer creates the store and the layer in one request, and your QGIS symbology becomes the style of the layer.
5. Bring it back into QGIS
Find the new layer in the list and click its Add to QGIS button (the layers icon with a plus). Pick WMS, WFS or WMTS. The layer joins your project, served by GeoServer.
That is the full round trip, from QGIS to GeoServer and back. The user guide covers every tab.